A newer function within VersaWorks 6 is the “Cut & Print” operation mode. In a normal integrated print/cut workflow, contour cutting is typically performed after printing. While this order of operations works great in most cases, there are some media types that tend to curl or shrink when printing is completed due to a combination of fresh ink and heat from the platen.
The Cut & Print function is popular with customers who focus heavily on HTM applications. Although such users may experience the media curling or shrinking mentioned above in some instances, this operation mode significantly reduces the dry time between printing and cutting on thinner HTM films.
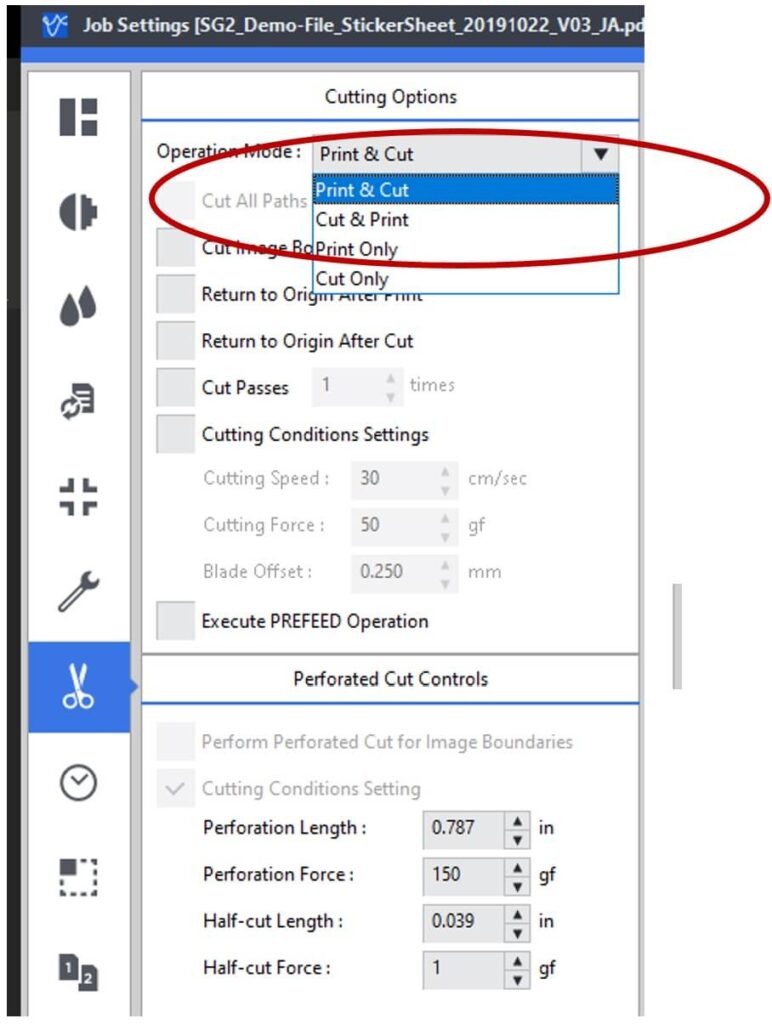
Changing the operation mode from “Print & Cut” to “Cut & Print” is very simple:
- Click into the cut control tab in RVW 6 (the icon is a pair pf scissors)
- Next, use the drop-down menu at the top of the screen and select “Cut & Print”
- Continue with the rest of the settings for the job as normal, then RIP and print. The printer will perform contour cutting, return to origin, and then perform the printing operation.