
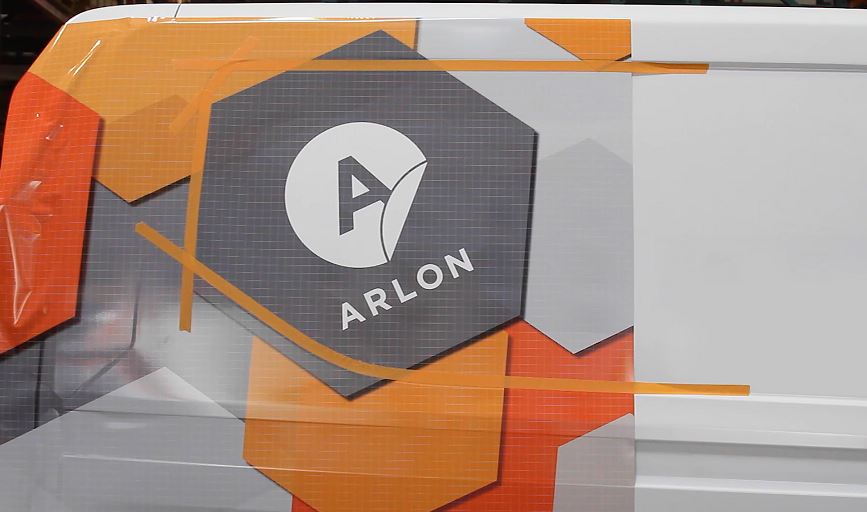
So here we are once again, talking about the challenge of vinyl lifting out of channels and recessed areas. What we really need is a ‘Deep Channel Hack’!
We often have to install vinyl over deep channels. Of course if you just force the vinyl into them you would be over-stretching it and in a short time the vinyl will shrink back and lift creating bubbles and ultimately an application failure.
Before we go further, let’s go over a few terms that will be mentioned in the next few steps:
- Outer Face
- Outer Edge
- Recessed Face
- The Bridge
Step 1: The Outer Face
The first step of this technique is to run your squeegee firmly along the outer face surface following the contour of the channel.
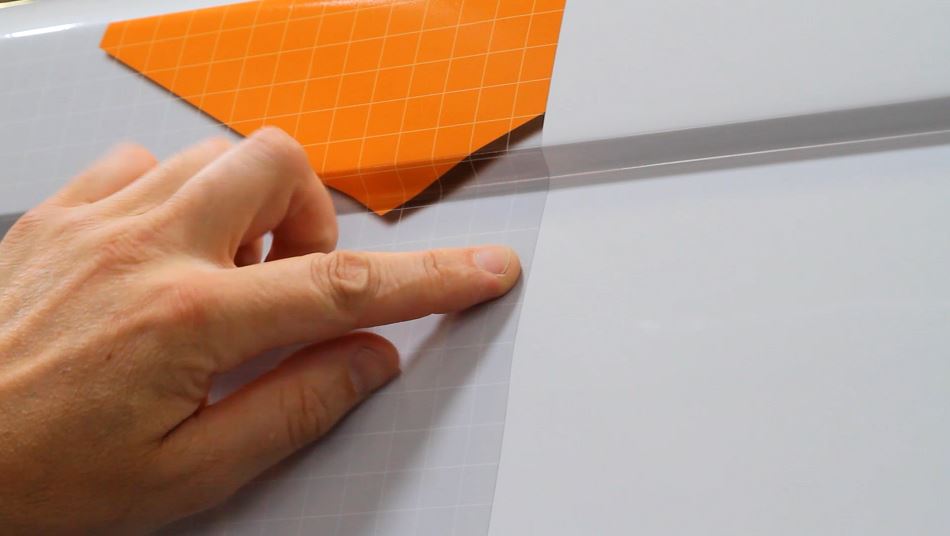
Step 2: The Recessed Face
Begin applying the recessed face about one width of your squeegee away from the ‘outer edge’. Be sure to apply firm pressure with your squeegee while keeping equal distance from the outer edge creating an evenly tensioned bridge around the entire channel.
Step 3: The Outer Edge
The next step is to roll the vinyl over the outer edge about one eighth of an inch. It is important to keep the amount you have rolled over the edge perfectly even along the entire channel because it will become a guide in the next step!
Step 4: Apply Masking Tape for the Deep Channel Hack
This is where this technique starts to look different. Using the rolled edge as a guide, lay a piece of three quarter inch masking tape one eighth of an inch in from the outer edge. The tape should parallel the channel. The deeper the channel of course, the wider the masking tape you will need.
It’s important to leave this one eighth inch gap between the tape and the outer edge. Especially in the corners. This allows the vinyl to flex the rest of the way around the curve of the outer edge.

Continue to lay masking tape along the inside edge of the recessed area! Overlapping tape is normal on sharp curves and corners.
Step 5: Drop the Bridge
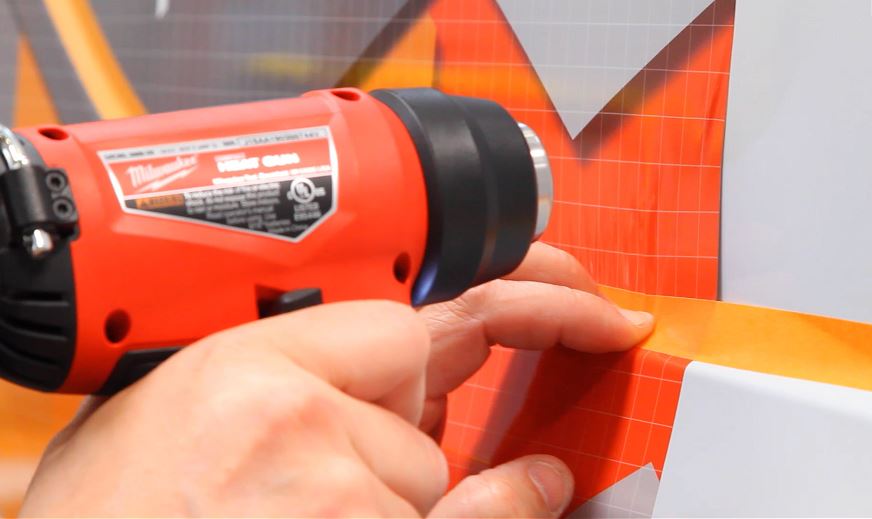
And now, against your strongest ‘Wrappers Instinct’ heat the bridged vinyl and work the tape covered vinyl directly into the deep channel. It isn’t necessary to direct heat away from the deep channel area with this technique. Continue to feed the taped vinyl into the channel evenly to minimize image distortion.
The masking tape has stabilized the vinyl that covers the deepest part of the channel, preventing it from stretching. Since the vinyl in the deep channel was never stretched, it can never shrink. There is no inherent tension in the vinyl to cause lifting or bubbling. This technique is effective for applying many types of film (for example reflective film) which are prone to lifting and bruising in channels.
Apply the recessed face working the trapped air out through the front edge of the graphic. After the tape has cooled sufficiently, gently remove it. Be diligent in your post heating method. Apply high heat (180°F to 200°F) and heavy pressure with a rubber wheel along the deepest curve of the channel.
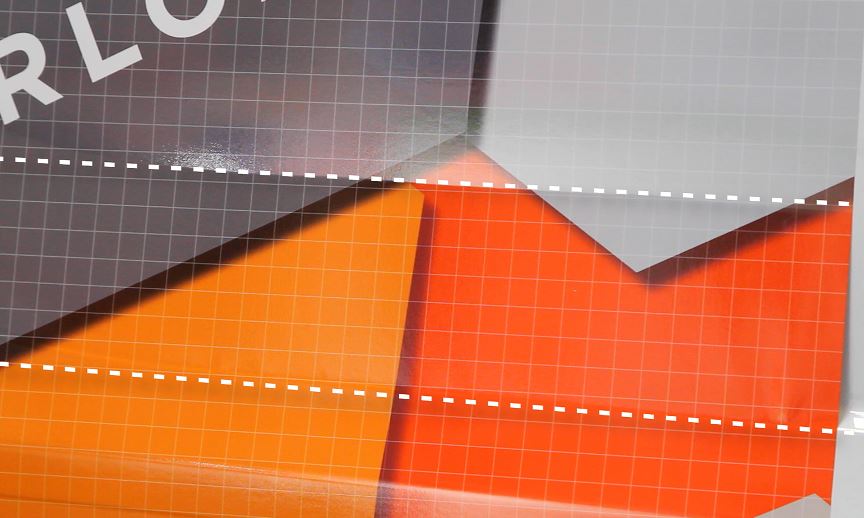
Eliminating Edge Distortion
Through-out the channel the image has no distortion and the grid is square and un-stretched. The stretch happened inches away from the channel. This is because the tape gave this area more stability than the strength of the tension needed to ‘drop the bridge’.
By using this Deep Channel Hack, you’ll be able to install with little to no issues on every vehicle and fleet project.
Watch the Video

RITCHIE DAIZE
Ritchie got his start 23 years ago working at a small sign shop weeding cut vinyl and building signs. When the shop got a contract for a large fleet, Ritchie became the lead applicator for the project. Soon after, he opened his own graphics installation company called RD Installations. Ritchie became a leading expert in wrap application and fleet graphics. In 2008, Ritchie sold RD Installations and began working for Arlon.

Shop online now for your next Arlon wrap solution!
