
The following elements make up the workspace. Most elements can be moved around and docked in the workspace. When you first start the application, or open a new file, the signblank size dialog appears. Here, you can set the origin, orientation, dimensions, material, and resizing of the blank. To save your settings, click Advanced. To make changes to what is visible in your workspace, use the View Menu.
Toolbars can be customized so your workspace has all of the quick buttons you need. This article works with the interface at its default settings.
To customize a toolbar:
- Go to View > Toolbars > Customize, or right-click when your mouse is over a toolbar, then click Customize. The Toolbars dialog will appear.
- Select the check boxes for the toolbars you’d like to see in the workspace.
- To customize, select a toolbar and click Customize. The Customize dialog will appear.
- Add or remove buttons as required or click Reset, then Close.
- In the Toolbars dialog, select the size and type of icons you want to use, and if applicable, color icons.
SMARTBAR

From left to right:
- Selected object (name is displayed)
- Cursor coordinates
- Units
- Current nub (in red)
- Anchor nub: Click to display anchor on object bounding box. Position it over a specific part of the shape and adjust the X and Y coordinates in the SmartBar. The anchor is adjusted to the new coordinates and when it is moved, the shape moves with it.
- X, Y: Object coordinates
- Horizontal dimension of object
- Vertical dimension of object
- Horizontal scale
- Vertical scale
- Proportion lock: Select to maintain aspect ratio when scaling.
- Object rotation: In degrees.
- Swatch: Select object color.
ORIGIN POINT
To edit the origin point on the workspace, click and drag the upper left ruler in the design area to the desired origin point (the cursor changes to a cross).
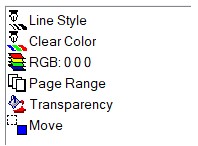
SYSTEM TOOLBAR

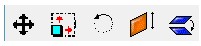
OPERATIONS TOOLBAR
WORKSPACE TOOLBAR

COMPASS TOOLBAR

PALETTE TOOLBAR AND PAGE NUMBERS

To edit a color, with the Select tool, double-click the color in the palette.
To enable or disable a color, press Ctrl and click the color.
To enable or disable all Shop Palette colors except the current target fill color, press Alt and click the color.
PAGES

Page 0 is the default workspace. When there are multiple pages, objects on Page 0 are visible on all pages.
Click box with three dots to add, collapse, or delete pages.
Note: When collapsing pages, the offset value is in addition to the size of the blank (offset = blank size + offset value).
Note: If you have selected Do not allow page 0 objects to be modified on other pages on the General Options tab of the General Preferences dialog, page 0 objects are locked on other pages.
For more information about the Prime Palette, see Overprint Settings.
SIGN BLANK
LAYER VIEWER
The Layer Viewer is a tool that can float or be docked in the workspace. It is used to arrange workspace objects onto separate layers so portions of the design can be edited separately.
To enable the Layer Viewer, go to View > Layer Viewer. You can drag objects in this window to reorder them.
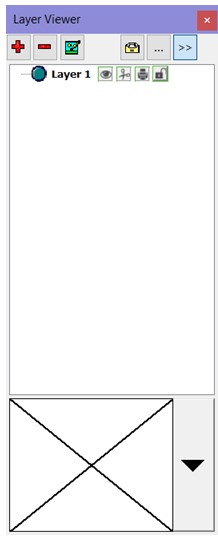
The buttons at the top, from left to right:
- Add new layer
- Delete layer
- Edit (rename)
- Show object attributes: Click to show attributes and operations applied to a selected object. Double-click to edit the object, or drag-and-drop to copy the attributes from one object onto other objects.
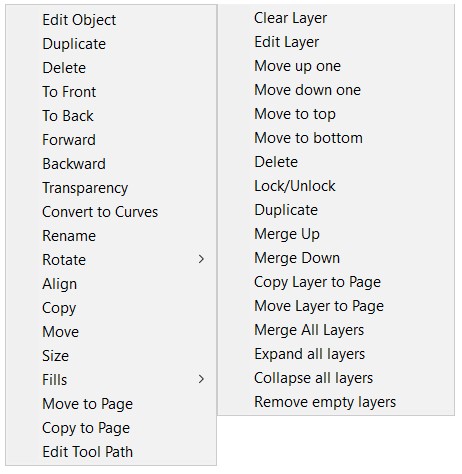
- Show context menu (on the left shows an object selected, on the right shows a layer selected)
- Dock window’
When a layer is selected, the following options appear:
- Show layer: Toggle layer visibility.
- Cut on/off: Enable or disable cutting.
- Print on/off: Enable or disable printing.
- Lock on/off: Lock to prevent objects from editing.
The bottom of the Layer Viewer window has an Object Picker. The object picker shows thumbnails for objects on the current layer. To select an object, use the drop-down arrow and then click a thumbnail.
If you turn off the layer viewer, you can merge all layers back into a single layer to make editing easier. Go to Show Context Menu and Merge All Layers.
