
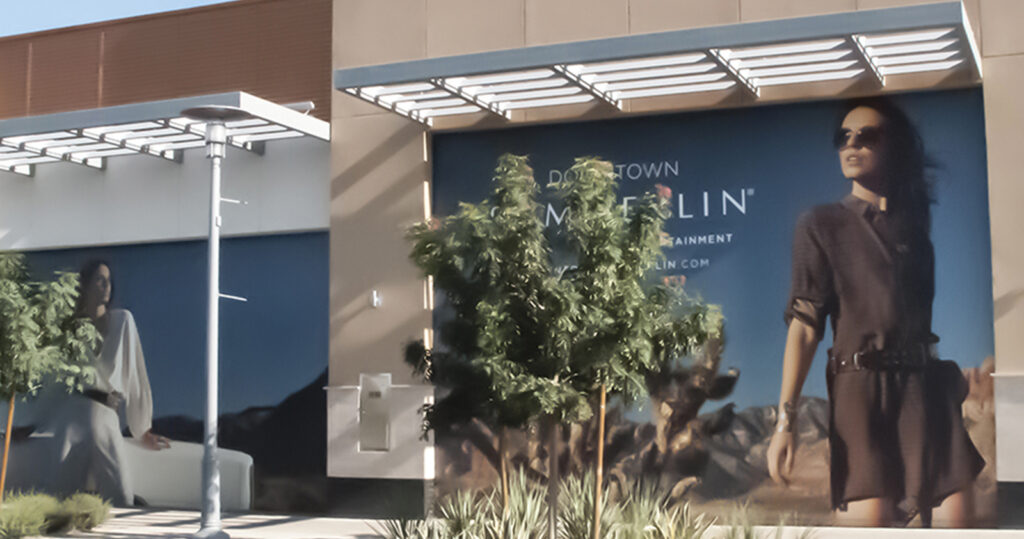
The first step to qualifying a wall wrapping media is to analyze and identify the surface. This article doesn’t select specific media for you. I want to give you some tips on how to properly test a wall for media compatibility.
Identifying the Surface Type
- Brick: Brick walls have mortar lines which vary in depth from job to job.
- Block: While block walls generally have shallow mortar lines, the surface of the blocks can be very textured.
- Concrete: Concrete walls will need to be sealed and if they are painted, the paint must be tested for both paint adhesion to the wall and vinyl adhesive compatibility.
- Stucco: Stucco walls have perhaps the most difficult textured surfaces for vinyl to adhere to.
Service Life of a Wall Wrap
Another important factor in choosing wall graphic media is service life. Do we want to put a laminate on this graphic? If you do use a substrate laminate, you’re going to get less definition in deep contours. However, you will protect the image from things like wear and tear and UV. If you do use a liquid laminate, roll it about half an inch past the edge of the graphic. This will stabilize the vinyl, lowering the chances of shrinkage. When you have determined the surface details and the expected service life of the graphic, it’s time to choose the correct media.
If the surface is an aggregate, like brick cinder block or concrete, it’s important to take note of things like the severity of the contour. Has the wall been sealed or primed? Many types of exterior paint are chemically resistant; it’s really important to test the media you want to use to be sure that the adhesive on that media is compatible with the paint.
Testing the Surface
First run your hand over the wall to check for any loose particles such as dust. If you feel loose grit of any kind it is important to remove it dry. We suggest a sturdy hand with a coarse broom followed by a tack cloth or lightly dampened towel. You need to remove any loose aggregate or dirt but you don’t want to get the wall wet. Aggregate surfaces like concrete, blocks or bricks can take days to dry out.
Sometimes, dry cleaning a wall just isn’t enough. Some walls found in public areas like subways need to be power washed. If you’re going to power wash a wall, make absolutely sure that it is completely dried before you try to do the test.
Preparing for Media Compatibility
If you are not sure of which media you should use, always test all of your options side by side to see which one performs the best. A-4 sized samples are perfectly sized for this test. Begin by peeling the liner halfway. Many wall products have exceptionally tacky adhesives so removing all of the liner at once can make the test much more difficult.
Smooth the vinyl out with your hands making contact with only the high points of the texture. Use a roller to secure the edge before using heat. Unsecured edges will immediately shrink when heat is added. Start applying heat in the center of the sample and roll from the center out to the edges following closely behind the heat gun. Apply slightly more heat and pressure in the mortar lines. Repeat the steps with each of media you choose for your side by side test.

Mark each sample carefully for future reference. Allow for adhesives to set for a minimum of 24 hours.

Results of the Media Test
Now we can see the result in the image above.
Sample #2 lifted in the corners, the most common place for a failure. Also, the edges are starting to roll back. The channels are lifting as well. The media is also shrinking. Sample #2 is not compatible with this wall texture.
Sample #1 has perfect compatibility. The corners are firmly in place. The edges are staying down perfectly. There is no shrinkage along the sides. Every detail in the texture shows through perfectly. Sample #1 is the right film for the job.
Next, test the adhesion value of the vinyl to the wall surface. Check how the adhesive has cured into the aggregate surface if there is one. Also observe how much tension is needed to remove the vinyl. Some small particles may come loose with the vinyl.
Testing Vinyl on a Painted Wall
Now, imagine this is a painted wall. We see that the vinyl’s adhesion is compatible with the paint, but will the paint come with it upon removal. To test this, snap the vinyl off with a sharp yank. If it removes paint, make sure your customer is aware of the end result to be expected when the wrap is removed. Conducting a test like this takes a little time and patience from both you and your customer. But finding a compatible product for your wall wrap is worth it!
FEATURED PRODUCTS

From interior flat walls to hard-to-stick surfaces like brick, stucco or concrete, transform your blank spaces into larger than life graphics. From the window to the walls, no surface is left untouched. Shop for your next wall project today.
DPF 8000
INDUSTRIAL GRADE MULTI-PURPOSE CALENDERED FILM FOR HARD-TO-STICK SURFACES
Unique Features
- The Hard-To-Stick Surface Solution
- Multi-Purpose High Tack Adhesive

DPF 8200
INDUSTRIAL GRADE FILM FOR OUTDOOR WALL AND LOW SURFACE ENERGY SUBSTRATES
Unique Features
- Enhanced Dimensional Stability
- Easy to Convert, Print, and Apply, Optimizing your Workflow
- Low Shrink Adhesive System
- Strong Adhesion for Demanding Applications
DPF 8200X

INDUSTRIAL GRADE FILM FOR OUTDOOR WALL AND LSE SUBSTRATES WITH X-SCAPE TECHNOLOGY®
Unique Features
- Low Profile X-Scape Technology® for Easy, Bubble-Free Installations
- Easy to Convert, Print, and Apply, Optimizing your Workflow
- Low Shrink Adhesive System
- Strong Adhesion for Demanding Applications
